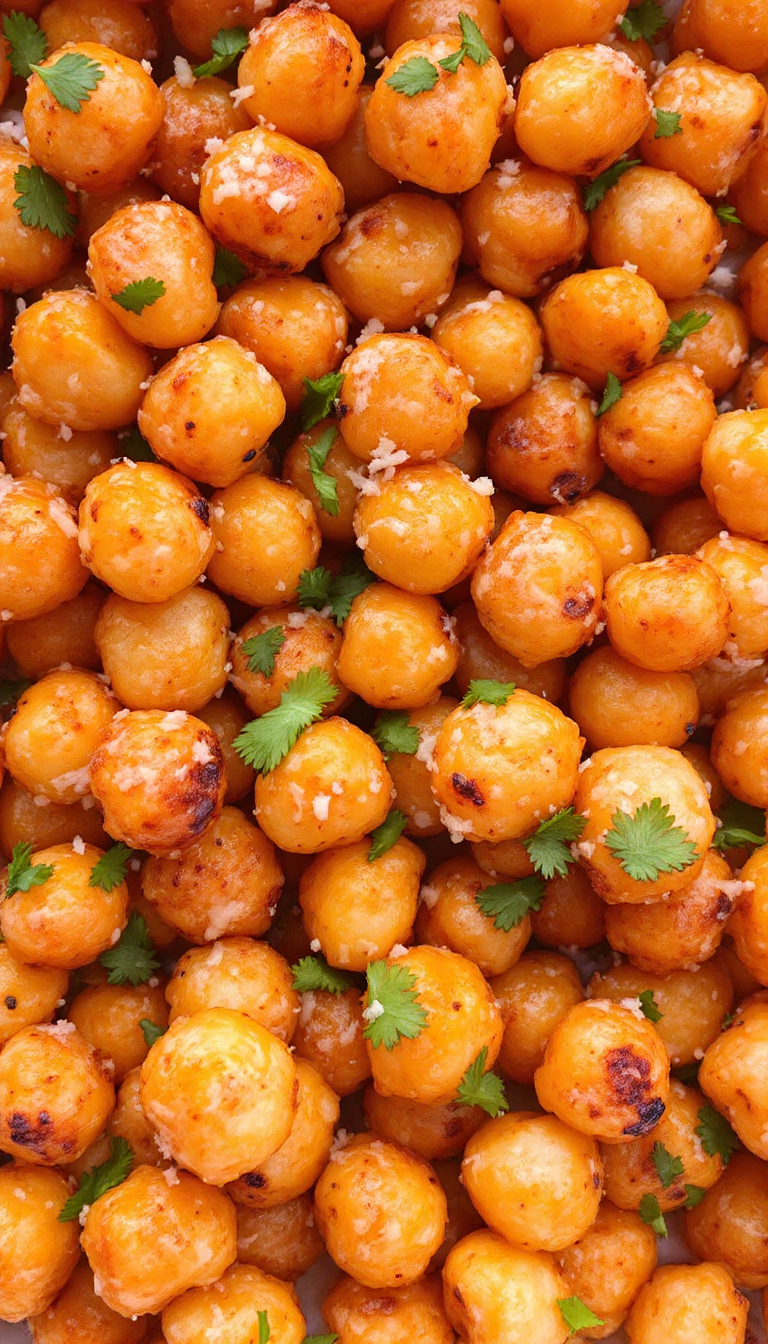
Crunchy, savory, and just a little addictive—these crispy garlic parmesan roasted chickpeas are like a snackable hug for your taste buds. Oh, the satisfaction of biting into these little nuggets of flavor, reminiscent of that time I got lost in a new city and found the coziest café by accident. Whether you’re watching a movie or just want something to munch on while pretending to be interested in a work meeting, these chickpeas deliver a delightful punch.
Steps
- Preheat your oven to 375°F and line a large baking sheet with parchment paper. This will prevent any sticking and make cleanup easier.
- Drain and rinse a can of chickpeas using a fine mesh strainer. Dry them thoroughly by blotting with paper towels and removing any loose skins.
- In a large bowl, combine the chickpeas with olive oil, garlic powder, lemon zest, and salt and pepper to taste. Add grated Parmesan cheese and mix until the chickpeas are well-coated.
- Spread the chickpeas in a single layer on the prepared baking sheet. Bake them for 45-50 minutes, tossing halfway through to ensure even browning.
- Once the chickpeas are crisp and lightly browned, remove them from the oven. If desired, sprinkle with additional Parmesan cheese before serving. Enjoy as a snack or salad and soup topper.

Ingredients
- 1 can (15 oz.) chickpeas (garbanzo beans)
- 1 tablespoon olive oil
- ½ teaspoon garlic powder
- ½ teaspoon grated lemon zest
- Sea salt and freshly ground pepper, to taste
- 2 tablespoons grated Parmesan cheese (or vegan Parmesan for a vegan option)
- Additional grated Parmesan cheese for garnishing, optional
Nutritional Values
Calories: 593.4 kcal | Carbohydrates: 81.6 g | Protein: 22.2 g | Fat: 20.4 g | Saturated Fat: 4.2 g | Cholesterol: 7.8 mg | Sodium: 1262.4 mg | Fiber: 15.6 g
FAQ
- How can I ensure my roasted chickpeas turn out crispy?
- The key to achieving crispy roasted chickpeas is to make sure they are thoroughly dried before roasting. Use a fine mesh strainer to drain and rinse them, then pat dry with paper towels. Repeat the drying process, rubbing the chickpeas to ensure they are completely dry. Removing any loose skins before roasting will also help prevent burning.
- Can I prepare these chickpeas ahead of time?
- While roasted chickpeas are best consumed immediately after cooking for maximum crunch, they can be stored. If they become slightly chewy after cooling or storing, you can place them under the broiler for a few minutes to restore their crispiness.
- Is it possible to make this recipe vegan?
- Yes, you can easily make this recipe vegan by substituting traditional Parmesan cheese with a vegan Parmesan alternative. This will maintain the flavor and crispiness without using animal products.
- Why are there brown bits on my roasted chickpeas?
- The brown bits occur when Parmesan cheese is added before roasting, giving a deeper flavor with crispy, browned cheese. If you prefer to avoid the brown bits, add the Parmesan cheese after roasting the chickpeas instead.
- What are some serving suggestions for crispy roasted chickpeas?
- These chickpeas make an excellent healthy snack on their own. They also serve as a great crunchy topping for salads or soups. For an extra flavor twist, you can sprinkle them with finely chopped fresh rosemary.
Tips
- Ensure that the chickpeas are thoroughly dry before roasting to achieve maximum crispiness. Use paper towels or dish towels to blot and rub them dry, and remove any loose skins to prevent burning.
- For the best crunch, consume the roasted chickpeas immediately after cooking. If they become chewy after cooling, you can restore their crunch by placing them under the broiler for a few minutes.
- Decide when to add Parmesan cheese based on your preference for brown bits. Adding cheese before roasting will give a deeper flavor and crispy brown bits. If you prefer without the brown bits, add the cheese after roasting.
- For a vegan version, substitute traditional Parmesan cheese with a vegan alternative. This will maintain the dish’s flavor profile while keeping it plant-based.
Equipment
- Fine mesh strainer
- Large baking sheet
- Parchment paper